Introduction to class-based views in Django
When I first started learning Django, I used Kenneth Love's excellent Django video series. Kenneth now works at Treehouse as a Django instructor. For this chapter, I decided to pass the torch and let him tell you all about class-based views, as I know what an excellent instructor he is with this more complicated subject. Thank you Kenneth for your help!
As you build more and more with Django, you'll find that your views start to look very similar. For views that show a form, you create a blank form and then send it to the template. When a view processes a form, again, you create the form, but this time you fill it with the submitted data. If the data is correct, you create a model object or send an email. This is exhilarating the first time you do it, but not so much the fiftieth.
In programming, we use classes to group together a bunch of related behaviors. This sounds exactly like what we're doing with views: repeating the same behavior over and over again. Django provides us with some built-in views called generic class-based views, which you'll often see mentioned as GCBVs. These views help us stop repeating our view code so much. Django also provides some ready-made classes for non-generic views but we're going to focus on just the generic ones for now.
Introducing Template View
The simplest of the generic views is TemplateView. It just renders a template,
but also lets us provide an optional context dictionary. Let's see how we'd set
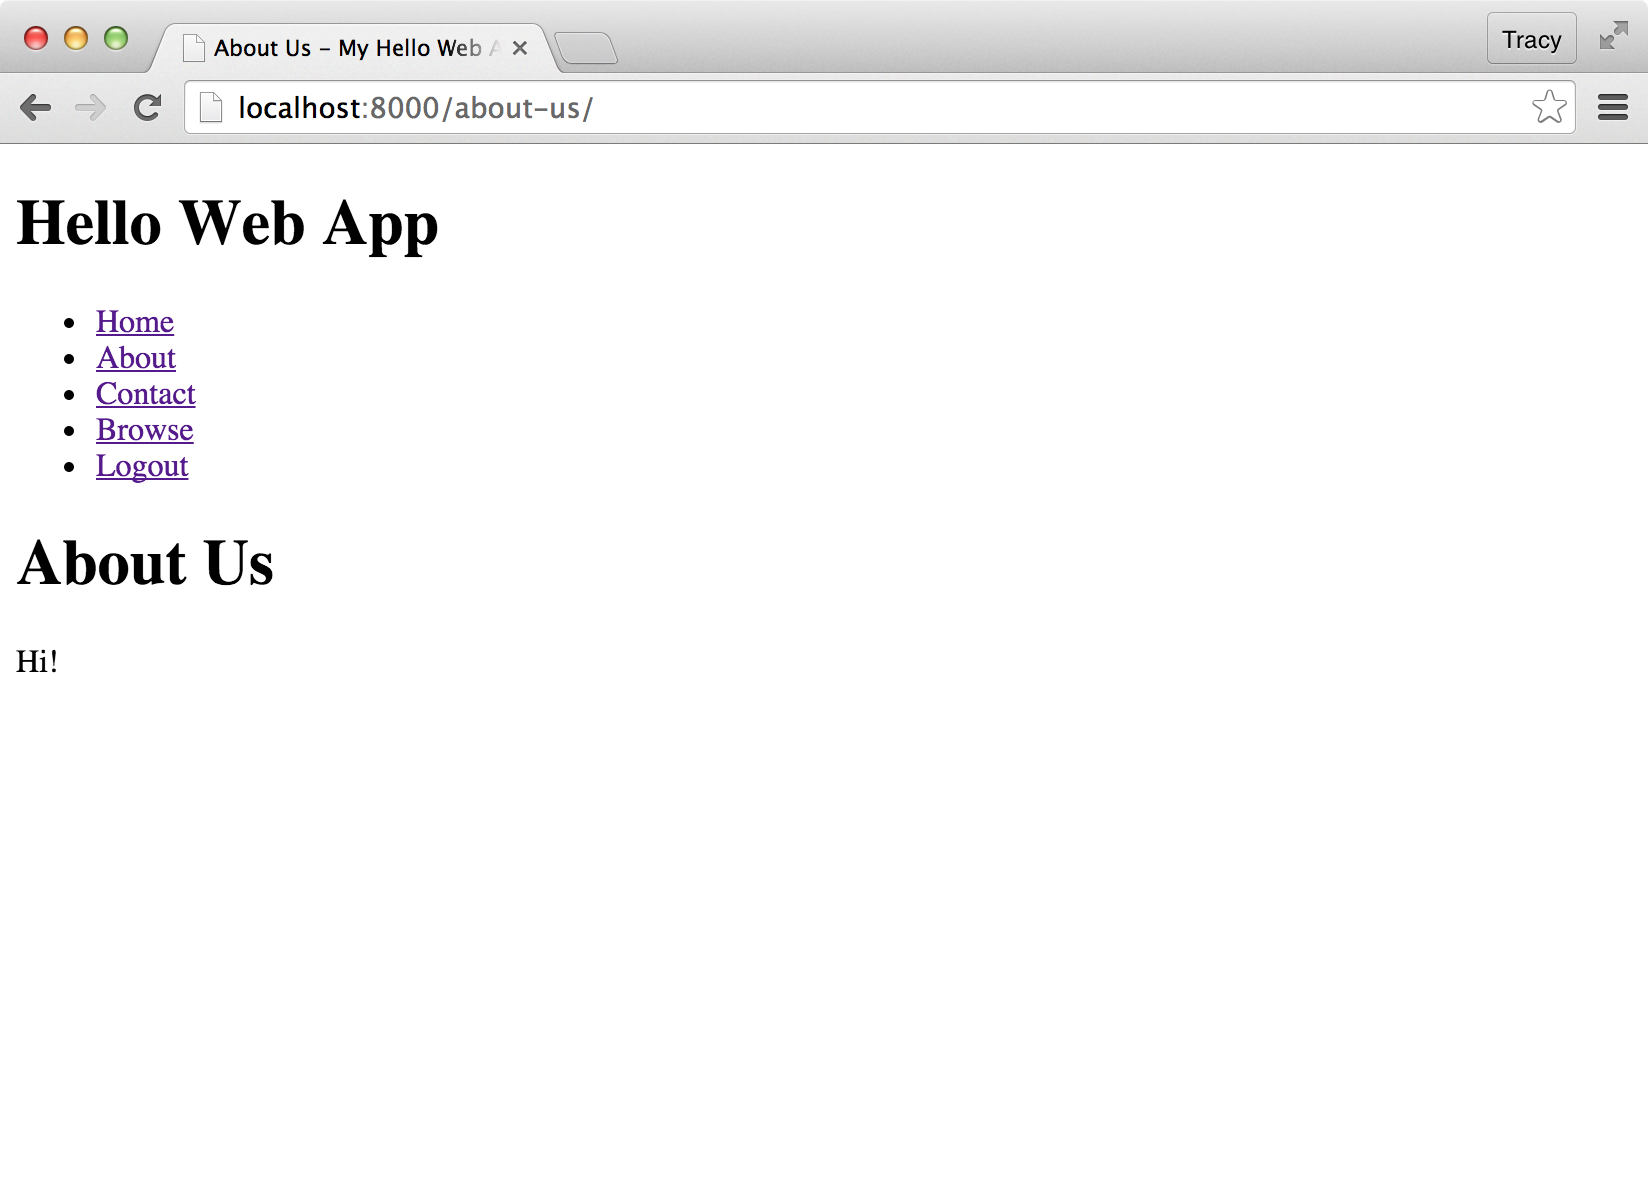
this up to render an "About Us" page.
Set up the URL
We register URLs for class-based views a little differently than we have for all of the function-based views we've done so far:
urls.py
from collection import views

urlpatterns = [
    ...
    # we're using a class-based view here!
    url(r'^about-us/$', views.AboutUsView.as_view(), name='about_us'),
Instead of just using the name of the function, we'll call the as_view() method
of our view. This method causes our view to act like a view. This means
Django will send the request to the view and expect the view to return a
response of some sort, usually a rendered template. Other than using the
as_view() method, though, our URL pattern is exactly the same as the ones
we've been using.
Set up the View
But what about the view itself? Class-based views have a lot of code under the
hood and are sometimes a little hard to wrap your head around. TemplateView is
probably the easiest one to understand that does something useful. Let's write
it and then I'll go back and explain what's going on.
views.py
from django.views.generic import TemplateView

class AboutUsView(TemplateView):
    template_name = 'about_us.html'
about_us.html
{% extends 'base.html' %}
{% block title %}About Us - {{ block.super }}{% endblock %}
{% block content %}
<h1>About Us</h1>
<p>Hi!</p>
{% endblock %}
The first thing we do is import the TemplateView class. This class gives us all
of the functionality we need for the view, including how to handle incoming
requests, render a template, and return the response. All of this comes from
Django, we don't have to write any of it ourselves. Since we don't need to do
anything special, we just specify the template_name attribute which tells Django
which template we'd like to use to render the view.
Our template is a pretty standard one, too. We're extending the base.html template and overriding a couple of blocks.
If we go to our URL at this point, we see the rendered template with our "Hi!" message.
Passing variables to the template
What if we need to pass in a few variables to the template, though? Right now,
we're just rendering a template and don't have any special variables available
to us. Let's use the timezone module from Django's utils package to find out if
we're currently in our business hours and use that to control a "We're open!" or
"We're closed!" message.
We'll need to update our view a little for this:
views.py
from django.utils.timezone import now

class AboutUsView(TemplateView):
    template_name = 'about_us.html'

def get_context_data(self, **kwargs):
    context = super(AboutUsView, self).get_context_data(**kwargs)
    if now().weekday() < 5 and 8 < now().hour < 18:
        context['open'] = True
    else:
        context['open'] = False
    return context
about_us.html
{% block content %}
<p>Hi!</p>

{% if open %}
<p>We are currently open!</p>
{% else %}
<p>We are currently closed! Feel free to contact us!</p>
{% endif %}
All of the generic class-based views have a method named get_context_data that generates the context dictionary that the view uses to render the template. In a function-based view, we do something like:
return render(request, 'about_us.html', {'open': True})
And Django would use the {'open': True} dictionary when it renders the template.
get_context_data creates that dictionary so to add custom values into the
dictionary, we have to have our own version of the method.
- When we call
super(), that tells Django to call theget_context_datamethod from the parent class,TemplateView, and get the dictionary from that class, which is empty by default. - Then we check the current date and time to make sure it's not the weekend (Saturday is 5 and Sunday is 6), and that it's after 8:00am but before 6:00pm.
- If it is, we set the
"open"key in the context dictionary to beTrue. - Otherwise, we set it to
False. - Finally, we return the dictionary so Django can use it.
Now, when we're writing our template, we have a new variable available to us named open; the same as the key name that we used in our dictionary!
Now for a FormView
Django provides a lot of other generic views for us to use, too. CreateView and
UpdateView, for example, let us create and update model instances. We've already
created a view to handle letting users contact us in Chapter 1, Creating a
Contact Form and Working with Custom Forms. Let's see about turning that
function-based view into a class-based one.
urls.py
urlpatterns = [
    ...
    url(r'^contact/$', views.ContactView.as_view(), name='contact'),
First, let's change our URL pattern so it points to our soon-to-be-created
ContactView's as_view() method. We don't have to change anything in our existing
URL rule other than the view that's being pointed to.
The rest of our work will be done in views.py. We already have our form imported
so we don't have to do anything there. We do need to import FormView though, the
generic view to handle displaying and processing forms.
Much like when we first used TemplateView, we don't have to write too much code
to get our view to work in a very basic manner. We need to make a new class and
set a couple of attributes.
The beginning to our new view:
views.py
from django.views.generic import FormView, TemplateView

class ContactView(FormView):
    form_class = ContactForm
    template_name = 'contact.html'
We've set two attributes, form_class and template_name. Thankfully, most of the
attributes for Django's class-based generic views are obviously named. The
form_class attribute tells the view what form it should instantiate for the
view. It'll create a blank instance of the form for GET requests and then a
version of the form with data filled in for POST requests.
If we look at our existing contact view, we can see that we're already doing this ourselves by checking request.method!
And the template_name attribute tells Django what template to render for the
view. You might be wondering if we need to update the context to include the
form. Django already does this for us and, by default, sends it to the template
as the variable form. This is the variable we're already using in our template,
so we don't have to change it at all.
If you refresh your Contact page now, you should see your form just like before. If you submit the form, though, you'll get an error about a missing success URL. We need to set one more attribute on our view.
We need to import the reverse_lazy function so we can specify the URL name
instead of the actual path. We can't use reverse because our views may be loaded
by Django before the URLs are. Using this lazy version makes sure that Django
doesn't care which order the views and URLs are processed in. Now we need to use
it in our view.
views.py
from django.core.urlresolvers import reverse_lazy

class ContactView(FormView):
    form_class = ContactForm
    success_url = reverse_lazy('contact')
    template_name = 'contact.html'
Loading the view and submitting the form now won't show any errors but also doesn't seem to do anything. We just get back to our original contact page with a clean form. We need to set what the form does when it's submitted.
We can, thankfully, reuse a lot of our work from before. FormView provides a
method named form_valid that is run whenever the form is valid. Let's take our
code from the function-based version of our contact view and use it here.
views.py
class ContactView(FormView):
    form_class = ContactForm
    success_url = reverse_lazy('contact')
    template_name = 'contact.html'

    # our new code
    def form_valid(self, form):
        contact_name = self.form.cleaned_data['contact_name']
        contact_email = self.form.cleaned_data['contact_email']
        form_content = self.form.cleaned_data['content']

        template = get_template('contact_template.txt')
        context = Context({
            'contact_name': contact_name,
            'contact_email': contact_email,
            'form_content': form_content
        })
        content = template.render(context)

        email = EmailMessage(
            'New contact form submission',
            content,
            'Your website ' + '',
            ['[email protected]'],
            headers = {'Reply-To': contact_email}
        )
        email.send()
        return super(ContactView, self).form_valid(form)
Most of this code should be familiar. The main differences between the old
version and this one are that we're inside the form_valid method instead of in
an if block. Also, we're using self.form to get the submitted information
instead of looking at the request object.
And, finally, at the end, we're returning this super() call. This will let
Django keep doing its usual work, redirecting to the success view, without us
having to specify it.
Let's check out the different between our old function-based view and our new class-based view:
def contact(request):
    form_class = ContactForm
    if request.method == 'POST':
        form = form_class(data=request.POST)

        if form.is_valid():
            contact_name = form.cleaned_data['contact_name']
            contact_email = form.cleaned_data['contact_email']
            form_content = form.cleaned_data['content']

            template = get_template('contact_template.txt')

            context = Context({
                'contact_name': contact_name,
                'contact_email': contact_email,
                'form_content': form_content,
            })
            content = template.render(context)

            email = EmailMessage(
                "New contact form submission",
                content,
                "Your website" +'',
                ['[email protected]'],
                headers = {'Reply-To': contact_email }
            )
            email.send()
            return redirect('contact')

    return render(request, 'contact.html', {
        'form': form_class,
    })
Class-based view:
class ContactView(FormView):
    form_class = ContactForm
    success_url = reverse_lazy('contact')
    template_name = 'contact.html'

    def form_valid(self, form):
        contact_name = self.form.cleaned_data['contact_name']
        contact_email = self.form.cleaned_data['contact_email']
    form_content = self.form.cleaned_data['content']

    template = get_template('contact_template.txt')
	context = Context({
	    'contact_name': contact_name,
	    'contact_email': contact_email,
	    'form_content': form_content
	})
	content = template.render(context)

	email = EmailMessage(
	    'New contact form submission',
	    content,
	    'Your website ' + '',
	    ['[email protected]'],
	    headers = {'Reply-To': contact_email}
	)
	email.send()
	return super(ContactView, self).form_valid(form)
Everything works just like it did in the original version of the view. Why change it to a class-based view, then?
Most of the time, you want all of your views to be created in the same manner.
If you're using classes for 95% of your views, you should go ahead and convert
the remaining 5%. Also, making it a class-based view often makes it easier to
refactor later. For example, you could take all of the form_valid functionality
out of the view, put it into a function, and just call that function from inside
of form_valid. Now, if you need to update how the contact form submissions are
handled, you can update just that function instead of the whole view.
You'll also find yourself developing patterns as you build a site or app. You'll have several views that all have the same characteristics or behaviors. When you use class-based views and their mixins, you'll find yourself able to build that behavior much more consistently and quickly. Work smarter, not harder!
Mixins: peanut butter for your chocolate views
When we need to protect a function-based view, we can use the @login_required
decorator. Decorators don't work easily or cleanly on class-based views, though.
Starting with version 1.9, Django provides mixins that we can use to protect our class-based views. Mixins are simple classes that provide a small amount of functionality for another, larger class to use. More info here.
Django 1.9 gives us three mixins but one of them
will be used way more often than the other two, at least in most projects. That
mixin is the LoginRequiredMixin.
Secret view and URL
Let's create a new view that we want to protect. This would be a view that you want you and your staff to have access to, but not your customers and site visitors.
First, we'll build our template:
secret.html
{% extends 'base.html' %}

{% block title %}Secret - {{ block.super }}{% endblock %}

{% block content %}
<h1>Secret</h1>
<p>This page should be secret.</p>
{% endblock %}
Of course, we need to make a view for it.
views.py
from django.views.generic import TemplateView

class SecretView(TemplateView):
    template_name = "secret.html"
And, finally, we need to set up a URL for the view.
urls.py
urlpatterns = [
    ...
    url(r'^secret/$', views.SecretView.as_view(), name='secret'),
Great, everything is set up and ready for us to secure.
Securing the view
If you log out of your site, or open an anonymous browser session, and go to localhost:8000/secret/, you should be able to see the secret view. That's not what we want, we want it hidden from non-logged in eyes!
Let's go back to views.py and update the view class to protect the view from anonymous users, people that haven't logged in yet.
views.py
from django.contrib.auth.mixins import LoginRequiredMixin

class SecretView(LoginRequiredMixin, TemplateView):
    template_name = "secret.html"
Because of how class construction works in Python, we need the special features
of the mixin to be available when the view itself is instantiated. In this case,
LoginRequiredMixin tests that a user is logged in before the view is rendered
for them. If we refresh the /secret/ URL again, we'll see that we're not allowed
to view the page anymore. Hooray! That's what we wanted!
Summary
Mixins provide us a convenient, light way to add new functionality to our views. If you find yourself needing more functionality than the three mixins that Django provides, check out django-braces. django-braces provides other mixins for things like controlling queries and quickly creating JSON views.
Another great resource for building up an understanding of Django's class-based views is ccbv.co.uk. This site lists out each class-based views, the mixins it uses, and what methods each mixin provides. With this, you should be able to figure out which view to use and what methods to override to create exactly the workflow your application calls for.
Class-based views and mixins allow you to very quickly build simple or repetitious views. If you find yourself building the exact same view over and over again, changing just the form or model that's used, class-based views will typically save you a lot of time.
For more about class-based views, check out the links above as well as these below: