Hello Web App Set Up Instructions
Table of Contents
Hey friends! Let's get your computers set up so you can run the Hello Web App tutorial. This page might look long but it should be fairly simple. Just a lot of steps. One of the hardest parts about web app development is installation (the other is deployment) so once we're through this challenging beginning bit, everything will get a lot easier.
(Why don't I include these instructions in the book? Here, I can update whenever I need since the programming ecosystem changes a lot. This way, the books won't go out of date as quickly!)
Optional: Get Comfortable with Command Line
Are you new to development? I wrote a fun, short zine to introduce using the command line for beginners. We'll be using the command line a lot throughout the book so, if you're new to using the command line, I recommend checking out the zine first (comes in printable, online, and other versions): https://hellowebbooks.com/learn-command-line
1. Install Python
Unfortunately, unlike making web pages with HTML, we need to install Python before our computers can run the files that we're building.
Head over to these links to install Python 3 onto your computer:
Windows users, I highly encourage you to use the Linux Subsystem for Windows to give yourself the ability to use UNIX commands used in the books (like touch) in your command line.
Do you have pip installed?
pip is the Python package installer — you'll use it heavily with Hello Web App and pretty much any Python project. If you followed the Python install instructions, you should have pip installed already.
To check whether it's installed, open up your command line and run this (don't
include the $, it's an indicator that this command is being run in your
command line utility):
$ pip list
It should be pretty obvious if it didn't work. If it didn't work, check out this page.
2. Install Virtualenv
When we start developing our Django apps, we want to make sure our projects are enclosed in "bubbles" known as virtual environments.
For example, as of this writing, Django's current version is 2.0. When new versions of Django are released, they may not be backwards compatible with previous versions of Django.
Without a virtual environment, we'd have Django 1.9.2 installed globally on our computer, and every Django project you build would use that version. If you wanted to upgrade your version of Django, you'd have to go through every one of your projects to make sure they don't break.
With a virtual environment, every project can have a separate version of Django and other plugins that you install. You can install Django 1.9 on one project, and down the line, start another project with Django 2.0. Every project can work off of whatever version of whatever you install, keeping them separate from each other. This is very important when you're programming.
We should already have pip, so we'll use it to install virtualenv (again,
don't paste in the $ ):
$ pip install virtualenv
3. Set up Django and start your project
First thing we need to do is create a folder for your project. I personally use a "projects" folder in my top level user folder on my computer, which contains all my programming projects. If you'd like to do this as well, follow these commands in your terminal to create the projects folder, and a folder within for this individual project:
$ mkdir projects
$ cd projects
projects $ mkdir myhellowebapp
projects $ cd myhellowebapp
If you need a command line review, mkdir creates folders, and cd changes
directories into that folder. If you ever get lost, your terminal should show
which directory you're in, and running ls (on Mac or Linux, dir on Windows),
will list out the contents of the folder you're in. Use cd .. to back up out
of a folder.
Start your virtual environment
Now that you're within your empty project folder, create your virtual environment.
projects/myhellowebapp $ virtualenv venv
And then activate the environment:
projects/myhellowebapp $ source venv/bin/activate
You should see something like this in your command line before the folder structure — the (venv) indicates you're in the virtual environment:
(venv)tracymakes@Orion ~/projects/myhellowebapp $
(Orion is my computer's name and tracymakes is my username — your exact setup
will be different.)
Now you're in your bubble, so we can start installing project-specific utilities.
If you ever need to deactivate your environment, run deactivate.
Install Django
Finally, it's Django time! We'll use pip to install Django, so run this in your command line, making sure you're in your project folder and the virtual environment is activated:
$ pip install Django==3.2
We're telling pip to install a specific version of Django, in case Django releases a new version that this tutorial doesn't cover.
Start git
We also want to start our version control system. Now that we're in our project folder, run this command to start git:
$ git init
Running this command in your project folder will make the entire folder and its contents part of a new Git repository. For more about git and why we should use it (spoiler: version control is very important and it's needed for deployment to Heroku), see the Git tips page here.
Optional but good to do: Git will track everything in your directory, but we really only want it to track files we're actually changing. We can tell Git to ignore certain files by creating a .gitignore file in our myhellowebapp directory (touch .gitignore), then open up the file with a code editor and pasting everything here in.
Then you can commit the file...
$ git add .
$ git commit -a -m "Added git ignore file"
...and now Git won't track those files.
Start your Django project
We installed Django, now we can use Django to build all the starting files we need for our web app. In your command line (again, in your project folder with your environment activated):
$ django-admin startproject hellowebapp .
(The . at the end is important, don't forget it!)
This is going to start a Django project in your currect directory.
django-admin: The script we'll be running.startproject: The specific utility we're using.hellowebapp: The name we're giving the project..: The location where we're starting the project, with.denoting the current directory.
startproject will create these files and folders:
myhellowebapp/
    manage.py
    hellowebapp/
        __init__.py
        asgi.py
        settings.py
        urls.py
        wsgi.py
The myhellowebapp folder is your top level directory.
- manage.py: We won't edit this file, but will use this file in the command line to interact with your project. You'll see it in action soon.
- The inner hellowebapp folder holds your project.
- __init__.py: Ignorable — tells Python that this is a Python "package".
- asgi.py: Relates to deployment; we don't be using it.
- settings.py: Aptly named — contains your settings.
- urls.py: URL declarations for the project. Important and we'll go over this soon.
- wsgi.py: Not needed at this point until you deploy your project.
Create your Django app
A project can run many apps (all doing something distinct), but we're just going to focus on having one for now, which is all you'll need for a very long time.
In your top level folder (the one with manage.py in it), run this command:
$ django-admin startapp collection
Like before, django-admin is the script, startapp is the command, and
collection is the name we're giving the app, which you can change if you wish.
startapp will create an additional folder and a few files:
myhellowebapp/
    manage.py
    collection/
        migrations/
        __init__.py
        admin.py
        apps.py
        models.py
        tests.py
        views.py
    hellowebapp/
        __init__.py
        settings.py
        urls.py
        wsgi.py
Note the additional "collection" folder in your project.
- migrations: A directory created to contain your database migrations (we'll cover this soon).
- __init__.py: Ignorable — again, Python just needs this empty file.
- admin.py: Contains admin codebits.
- apps.py: A file created by Django that we won't be using.
- models.py: Where you'll define your database eventually.
- tests.py: We'll eventually write tests to test your code for errors here.
- views.py: Where the logic goes that powers your website.
If that's a bit complicated, don't worry about it yet because we'll review it all later when we specifically start working with all those files.
Add your new app to your settings file
We need to tell the project that we've added an app to it — it doesn't find it
automatically. Open up your settings.py file (which is under the
hellowebapp directory, see the directory tree above) and find the
INSTALLED_APPS section. Add the name of your app to the beginning of the list
(don't forget the trailing comma):
INSTALLED_APPS = (
    'collection', # this is the app we added
    'django.contrib.admin',
    'django.contrib.auth',
    'django.contrib.contenttypes',
    'django.contrib.sessions',
    'django.contrib.messages',
    'django.contrib.staticfiles',
)
If you've used Django before, you might be wondering why I put collection at the top of the list. It's a bit of trickery to make sure our templates are used rather than the default Django admin templates when we set up our login pages. Shouldn't affect anything else.
Set up your database
Django has some fancypants utilities built in to keep your database manageable. This is where all your dynamic information is stored, including any content that your users add when they interact with your future app.
First, we need to make some quick edits to our models.py file, which was created in our collection directory. Copy this code and paste it in:
models.py
from django.db import models
from django.contrib.auth.models import AbstractUser

class User(AbstractUser):
    pass
The top line should already be in the file; the rest we added. So, what are we doing? Django has a way to store User information by default (usernames, passwords, etc.) But, if you wanted to add extra information to this default set of info in the future, you might run into issues down the line if we just went with the default. By putting in the above right at the start of your project, I'm giving you maximum flexibility for your future project.
Last thing we need to do is add one more bit to our settings.py — add this line to the bottom:
settings.py
AUTH_USER_MODEL = 'collection.User'
With this, we're telling Django to use the code we added in models.py by default
(AUTH_USER_MODEL setting, pointing to "User" in our "collection" app).
Complete the set up of your database by creating what we call a "migration." We'll
explain databases and migrations more in depth in Chapter 6; long story short, we're
creating a history file for our database, and Django's makemigrations tool
does this automatically for us.
Run this command in your terminal (in your top level folder; the one with manage.py in it):
$ python manage.py makemigrations
Django will create that history file, and then we need to apply that history file by running
the migrate command. Type this in your terminal:
$ python manage.py migrate
Don't worry about understanding this just yet — we'll go over databases and migrations a bit more in the "Adding Dynamic Data" chapter of Hello Web App.
Start your local server
Want to see if everything worked? In your terminal, head over to your top level myhellowebapp folder (make sure you're in the same directory as manage.py) and run this command:
$ python manage.py runserver
...and you'll see the local Django development server starting, which'll serve your project to your computer.
$ python manage.py runserver
Validating models...

0 errors found
March 26, 2014 - 15:50:53
Django version 2.0.8, using settings 'mysite.settings'
Starting development server at http://127.0.0.1:8000/
Quit the server with CONTROL-C.
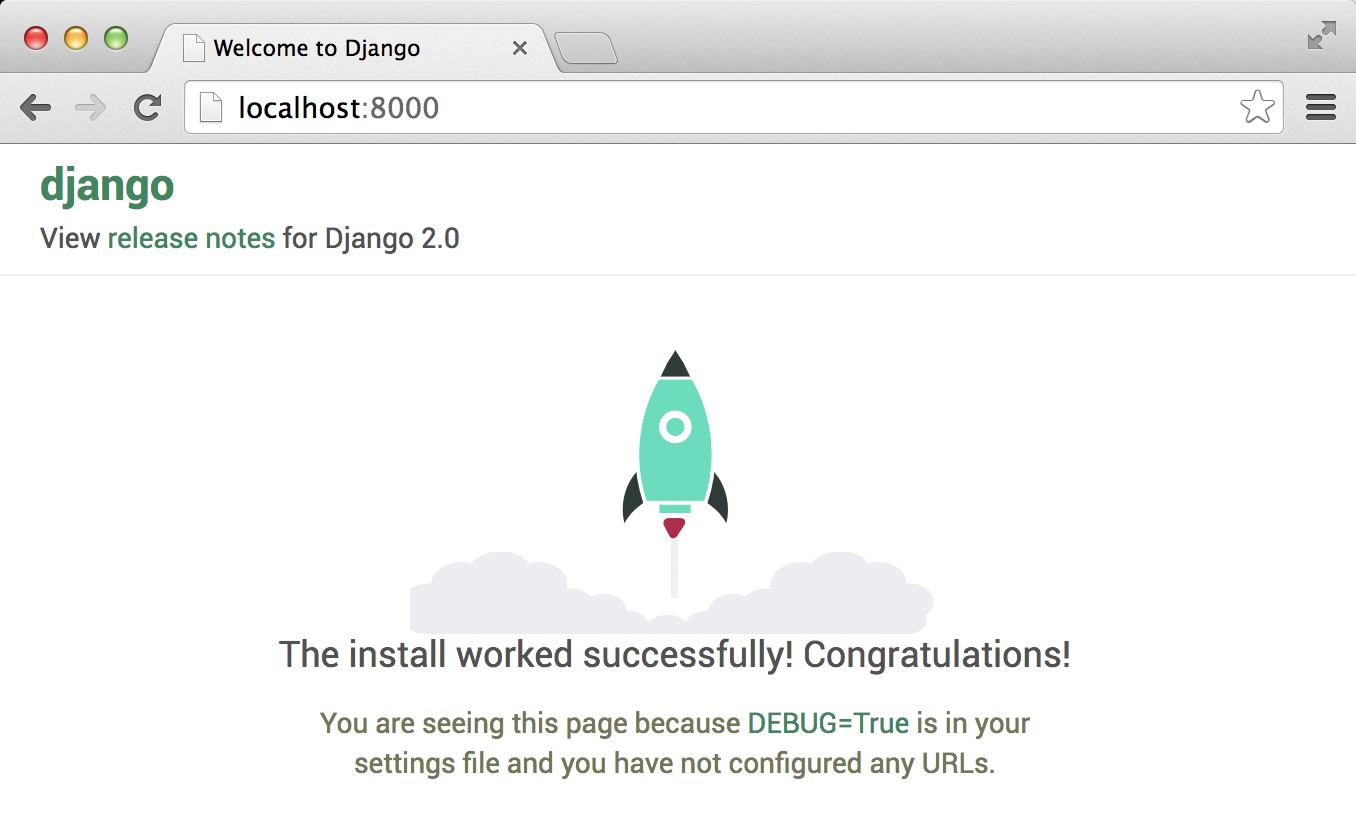
Now just head to your favorite web browser and visit http://localhost:8000, where you'll see a "Welcome to Django" page. Congrats on starting Django!
At this point you can continue working on the book. Best of luck and remember to use the discussion forum if you need any help!
Learn how to create your first web app and get on the path of a fun side project, a lifestyle business, or your first startup. Order Hello Web App today.